

It’s almost that time of year again. Hanging holiday lights and watching your home glow is one of the greatest pleasures of the season. Almost everyone decorates their houses with magnificent holiday lights these days, with some people boasting impressive displays beyond our wildest imaginations.
However, while it may seem pretty simple to string some fairy lights from your roof, if not done properly, it can cause damage. That’s right, there’s a correct and proper way to hang holiday lights. Here are some tried and tested tips and tricks that will help your home look festive without leading to a leaky roof!
Make A Plan
Plan out exactly where you’re going to hang your lights before you start doing so. It’s important to have an idea in mind rather than just winging it. There might be some areas of your roof that are dangerous or precarious to get to, and those should be avoided. Try taking a photo of your home and using that as a map for where you want to hang your lights. Making a good plan will also prevent too many unnecessary trips up and down the ladder!
Prepare Your Home
Before getting started, you first and foremost need to know exactly what length of string lights you will need. You might require more than you think, as working around corners and windows can be deceptive. Measure the total length of the space you wish to decorate, including the roofline, gutters, windows, and doorframes, before going out to purchase your lights.
Pick The Best Lights
If you’re using old string lights, check them for wear and tear. Don’t use lights with frayed or damaged cords or exposed wires. When purchasing lights, double-check to make sure they’re the color you want. There are different types of white light, with some being significantly brighter than others. LED lights are also the most cost-effective and long-lasting option. Lastly, make sure any lights you purchase are specifically designed for safe outdoor use.
Use the Right Materials
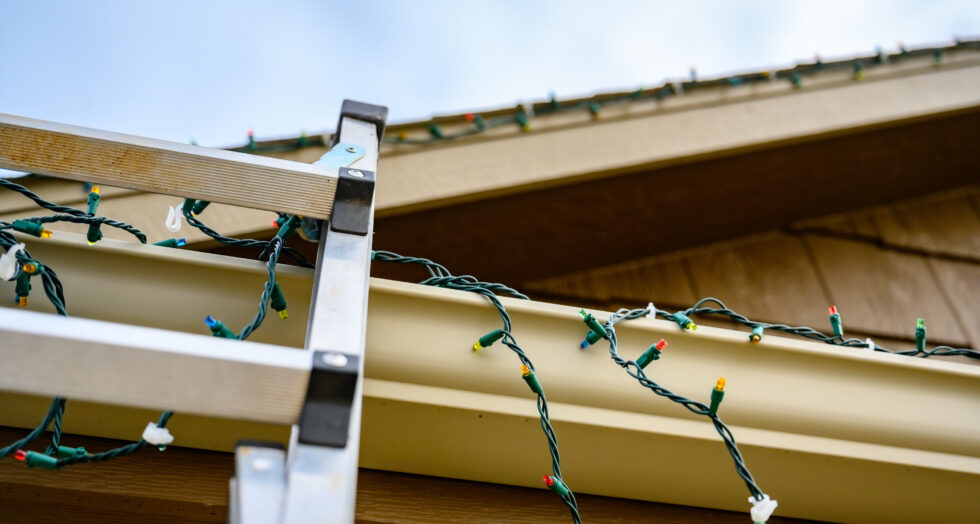
This might go without saying, but don’t use sharp materials such as nails and staples to fix lights on your roof. It’s not a good idea to use anything that can cause damage to your roof or expose it to the elements.
Holes in your roofing, even the tiniest ones caused by a staple gun, can open up the interior of your home to moisture and damage. These are the enemies of a roof, so avoid those sharp objects! These days, it’s easy to find plastic light clips specifically designed for hanging holiday lights. Pick up some of those while you’re at the store, your roof will thank you for it.
Get to Work
For a flawless look, attach your light clips every 6 to 10 inches apart to avoid that sad, sagging look. If you want your light job to look flawless, keep it crisp and clean. Secure the lights firmly and face them all in the same direction. Work neatly around doors and window frames. If you need to attach lights to posts or railing, zip ties are a great, safe option that won’t damage anything.
What NOT To Put On Your Roof
Lights are beautiful and, if installed correctly, safe. However, some people like to go all out for the holidays. We all have that one neighbor who has every type of light and decoration available. While it might look impressive to have a house and yard that looks like it belongs to Santa himself, not all decorations are safe, particularly for the roof of your home.
Steer clear of putting any type of decoration near the chimney. All it takes is one stray ember and you’ll have a house fire on your hands. It’s also ill-advised to cover your roof in those flashy inflatable decorations. Sure, they might look awesome, but consider this. One big gust of wind combined with a poorly fixed inflatable snowman and your roof is going to be suffering from some serious damage! Lastly, avoid covering your roof in heavy decorations. That life-size Rudolph replica might look appealing, but adding lots of heavy decor t your roof, combined with the weight of snow and ice, is a recipe for disaster.